Use It To Lose It
Showing all 3 results
-
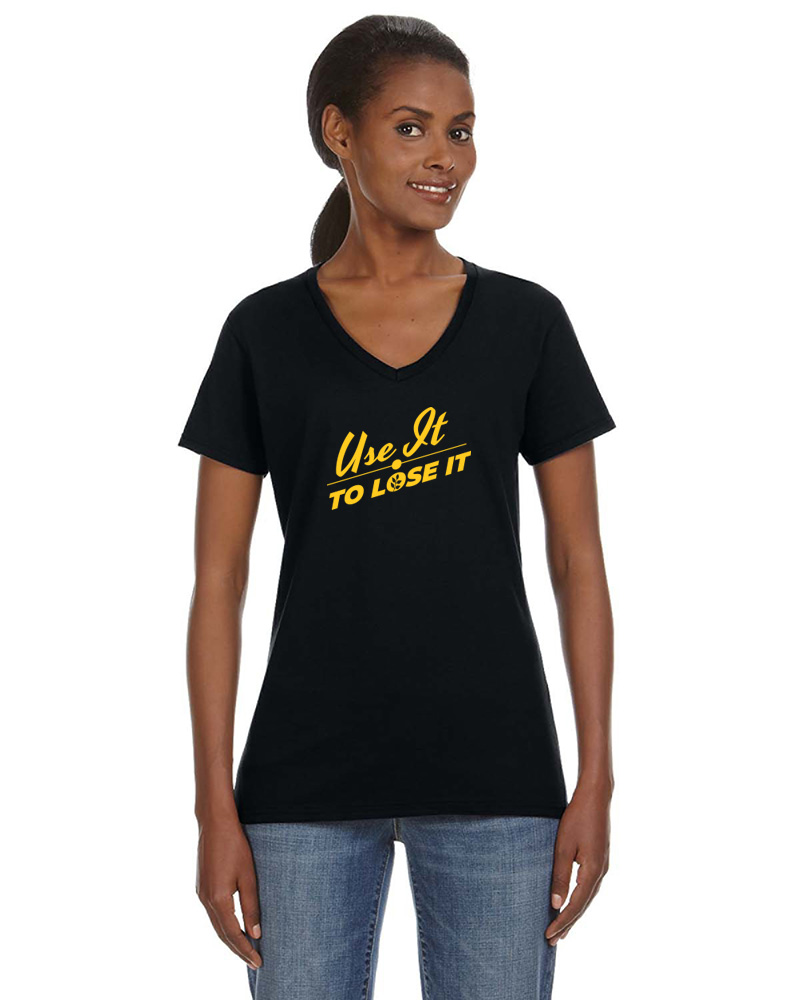
Use It To Lose It – Black V-Neck
$25.00 Select options This product has multiple variants. The options may be chosen on the product page -
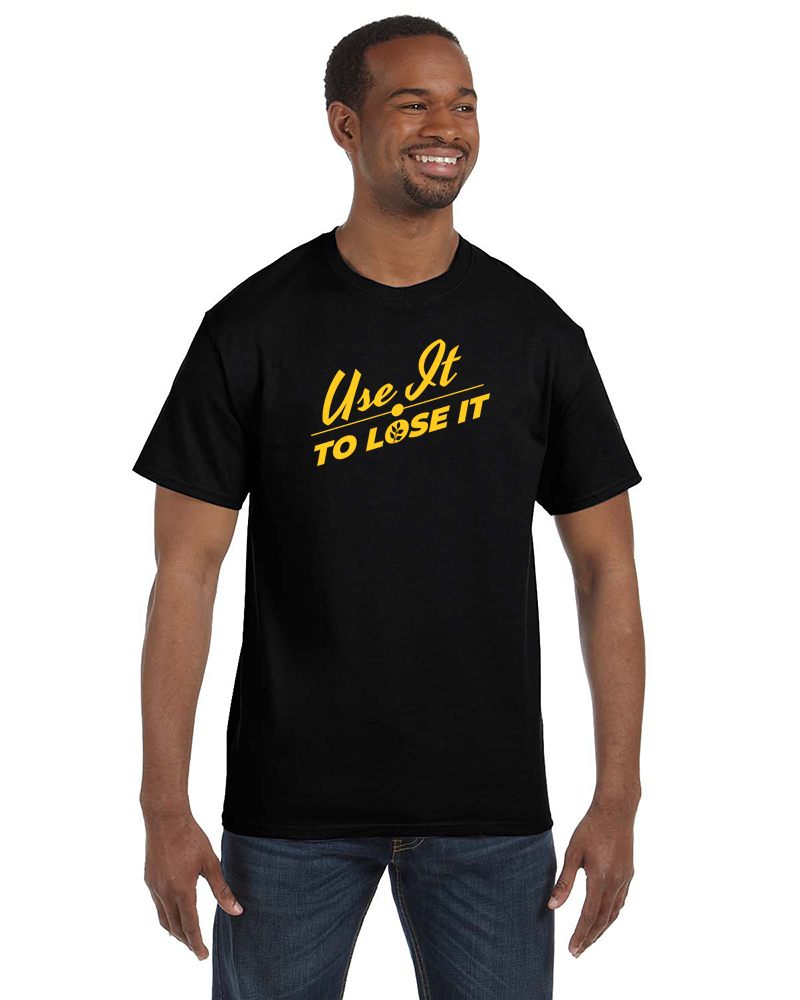
Use It To Lose It – Black T-Shirt
$25.00 Select options This product has multiple variants. The options may be chosen on the product page -

Plant Based Healing Black Mesh Trucker Hat
$25.00 Add to cart